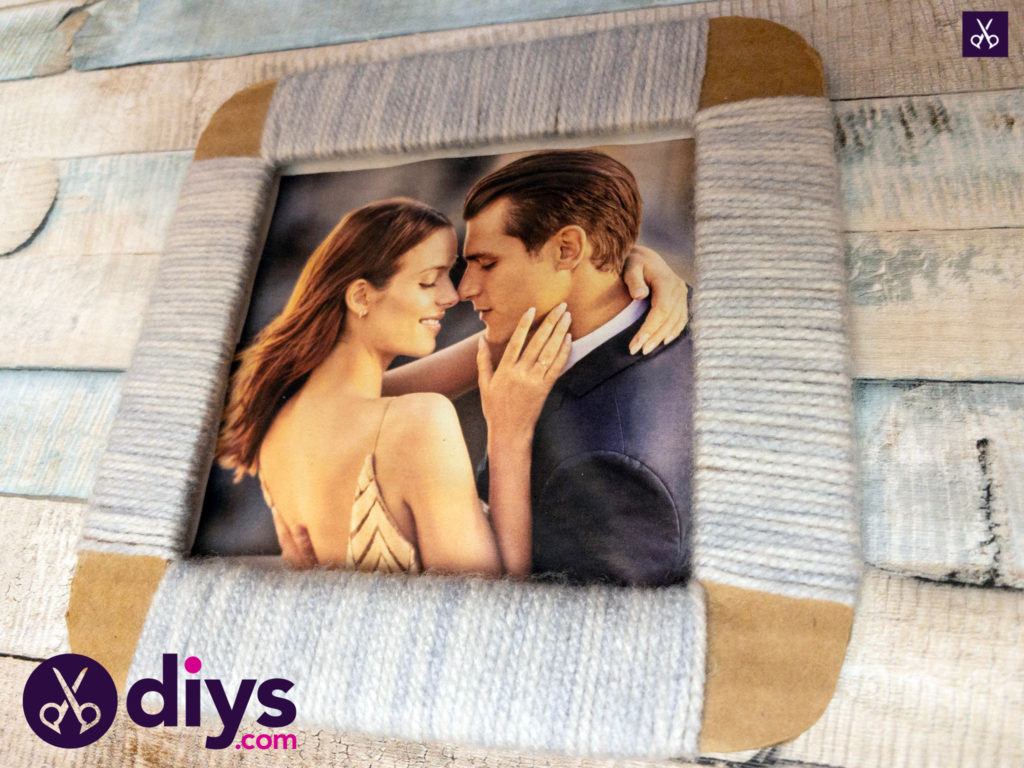
How to Make A Cardboard Photo Frame
If you're the kind of nostalgic crafter who adores making creative ways to display your favourite photos and family memories, then we think you'll get merely as much of a kick out of this fantastic yarn wrapped paper-thin picture frame as we did! It'southward a elementary, child-friendly fashion to show everyone who visits your home just how much certain photos mean to yous.
In this tutorial, we outline the process of cutting out a cardboard photo frame and adding colour using yarn wrapping techniques! Yous'll also find a detailed video tutorial at the cease of this post, just for extra guidance.
For this project, yous'll need:
- Yarn (whatsoever colour of your choice)
- Scissors
- Cardboard
- Ruler
- Pen
- Gum stick
- Scotch tape
- Photo (whichever one you like)
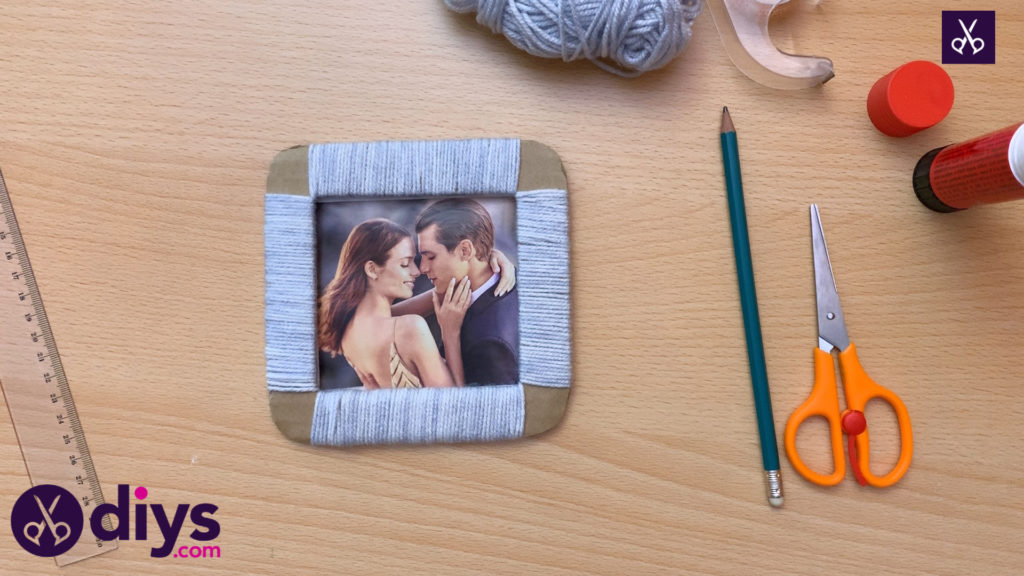
Step ane:
Gather your materials! This project will work whether you professionally print your photo or exercise so on your home printer. Information technologydoes piece of work all-time, even so, with a square shaped photograph.

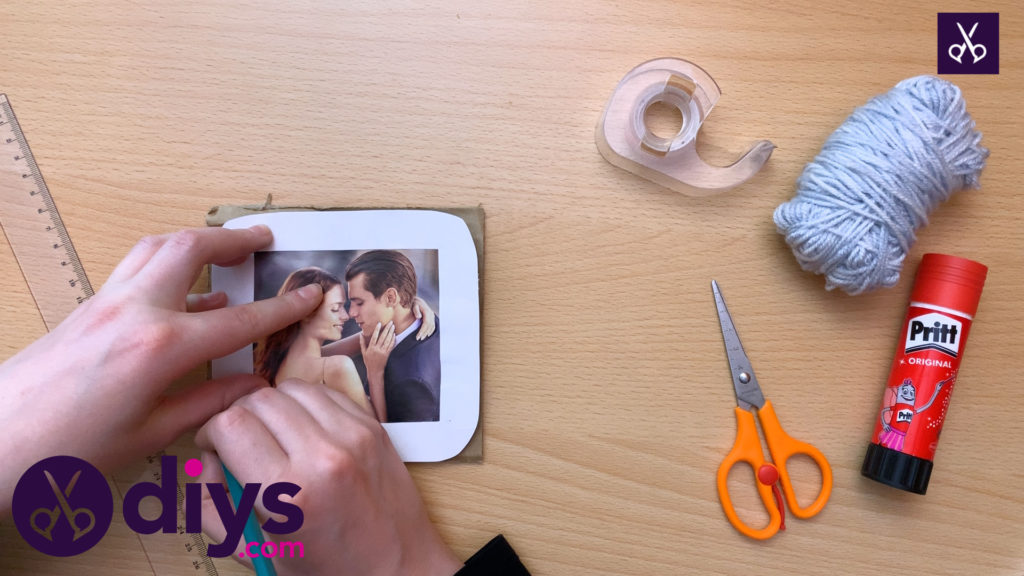
Step 2:
Make marks on the cardboard even with the edges of your photograph, where the image actually starts. You'll utilize these marks to trace out a square in the proper size, which is where you'll actually cut out the centre of the frame. These marks are your first basic guideline!
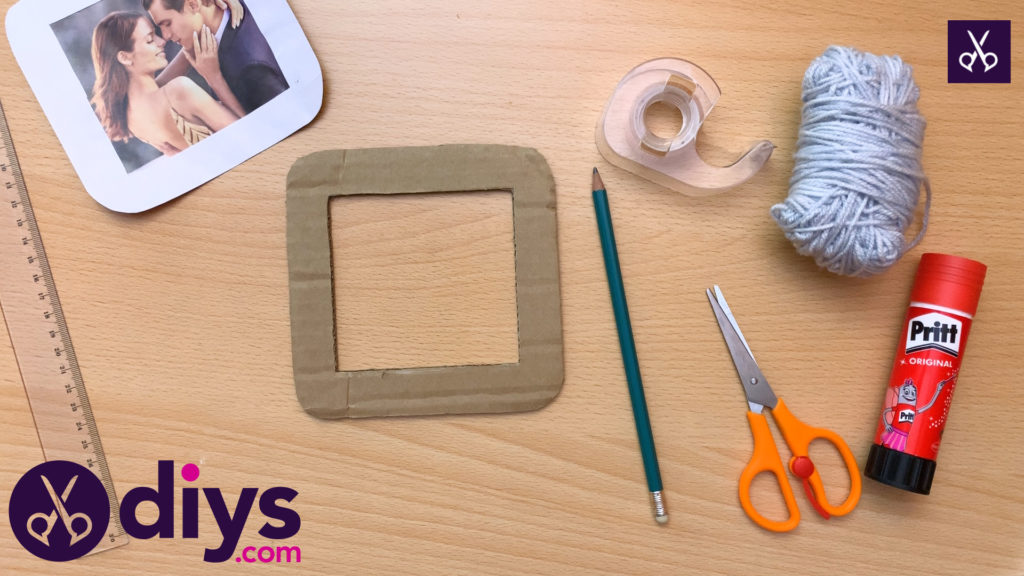
Step iii:
Using the marks you made in step 2 as a guide, use your ruler to join them with straight lines, creating a foursquare in the centre of your cardboard that's perfectly shaped for your prototype.

Pace four:
Use your scissors to cut out the foursquare, leaving you with a paper-thin edging that has a well-sized pigsty in the middle where your image will sit perfectly.
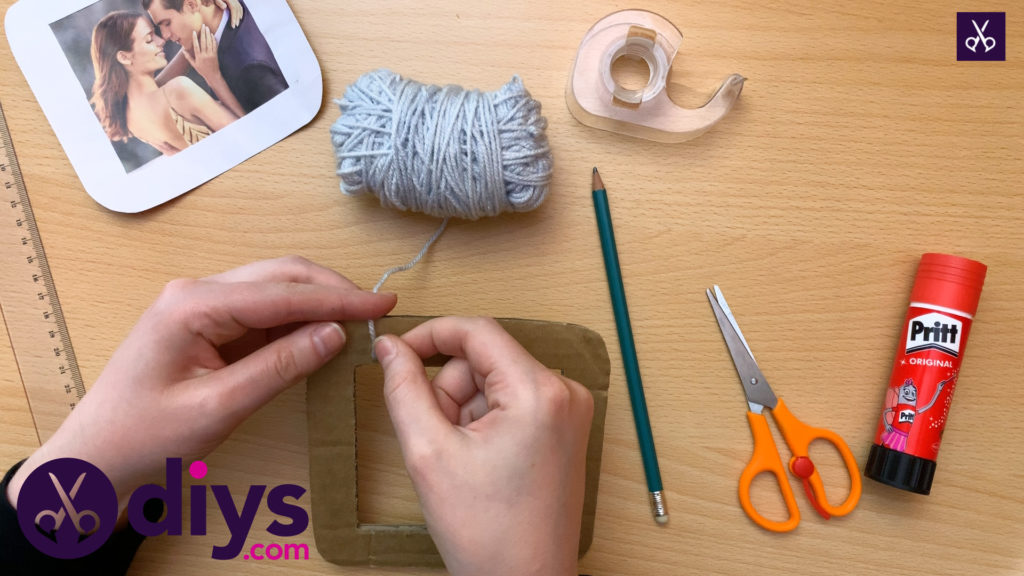
Footstep v:
Tape downward the edge of your yarn, anchoring it and then that you tin start wrapping. The spot where you lot record the finish will be the dorsum of the frame.
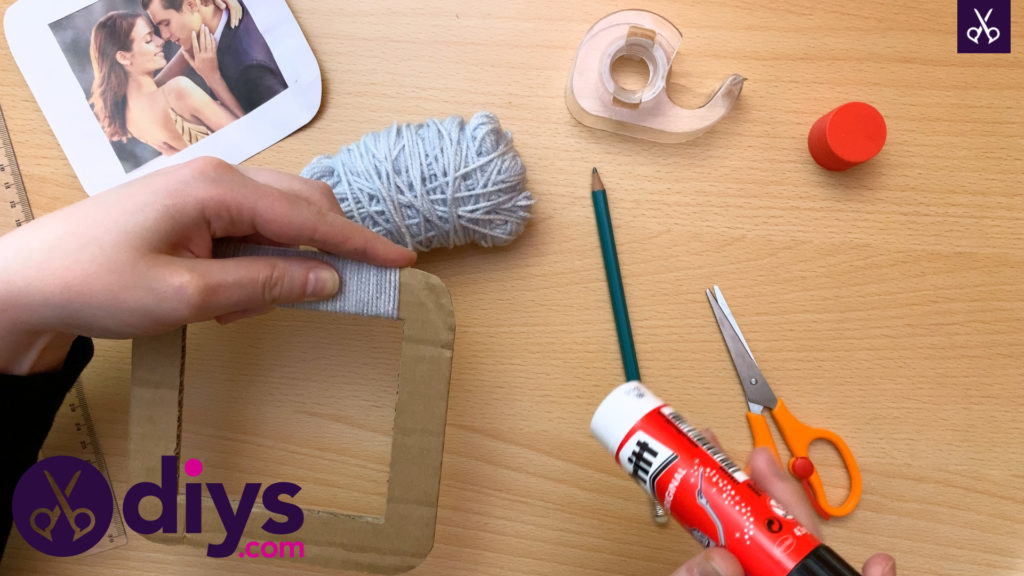
Step 6:
Laissez passer your ball of yarn through the center of the squired hole, winding the yarn around the cardboard edging over and over. You'll move the yarn to the side slightly each time y'all pass the ball through and so that it covers all the manner along the edge, just wind tightly enough that the pieces of yarn prevarication against each other, rather than leaving bare paper-thin in between.
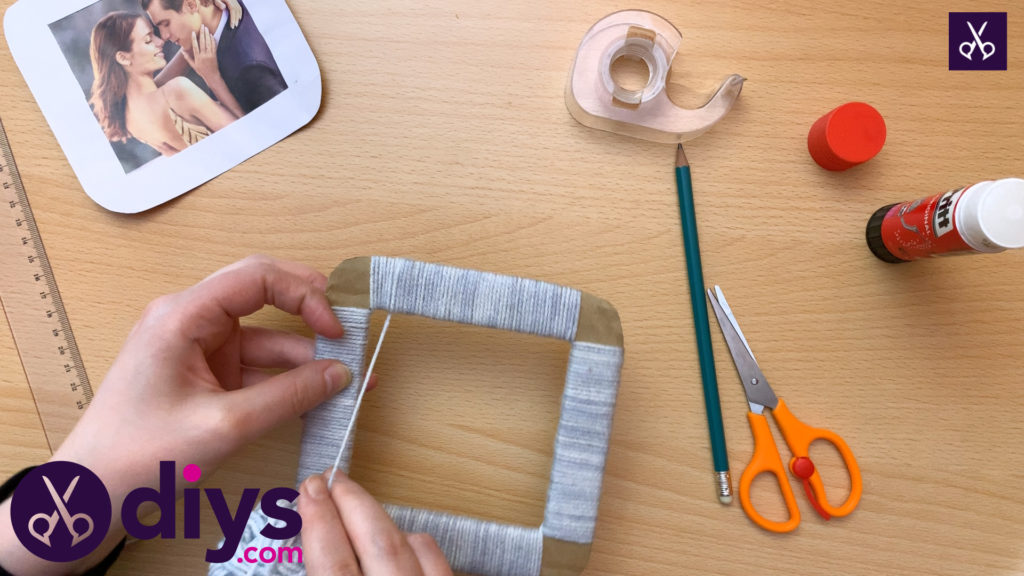
Step 7:
Once you've finished yarn wrapping 1 side of the paper-thin edging, start some other! We chose to skip winding on the corners for a chip of color and texture dissimilarity, but also because you'll do some gluing hither subsequently; it was a practical selection as well. Cover all 4 edges with your yarn wrapping technique. Once it's all covered, cutting the yarn, cover the stop in glue, and tuck it under the yarn around it on the back side, pressing down so it sticks in that location and doesn't unwind.
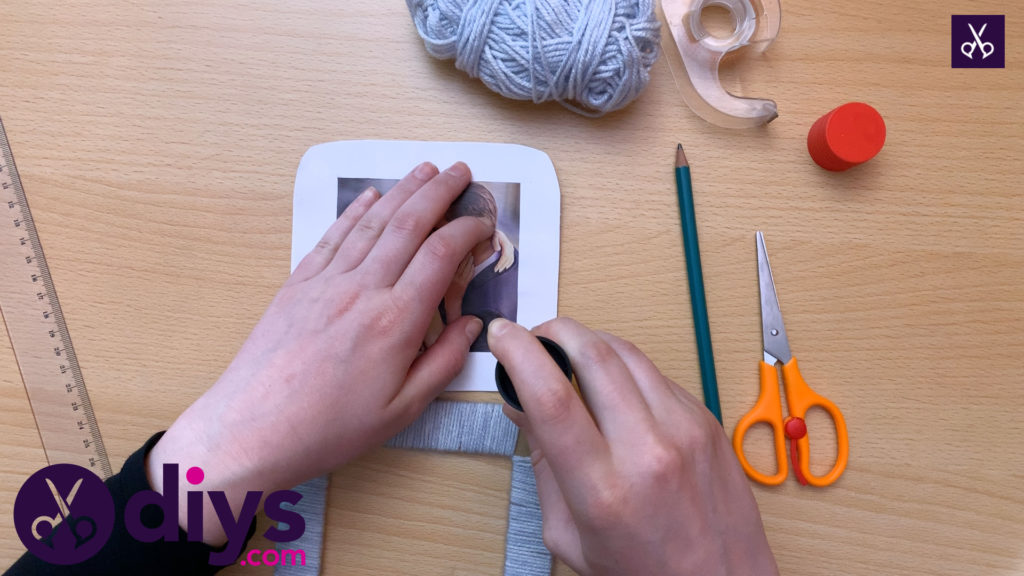
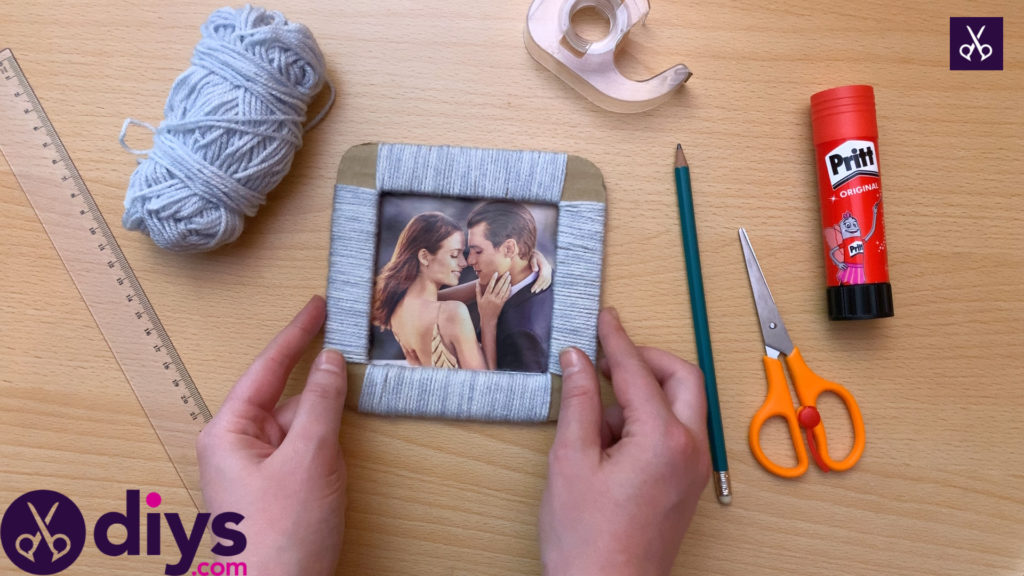
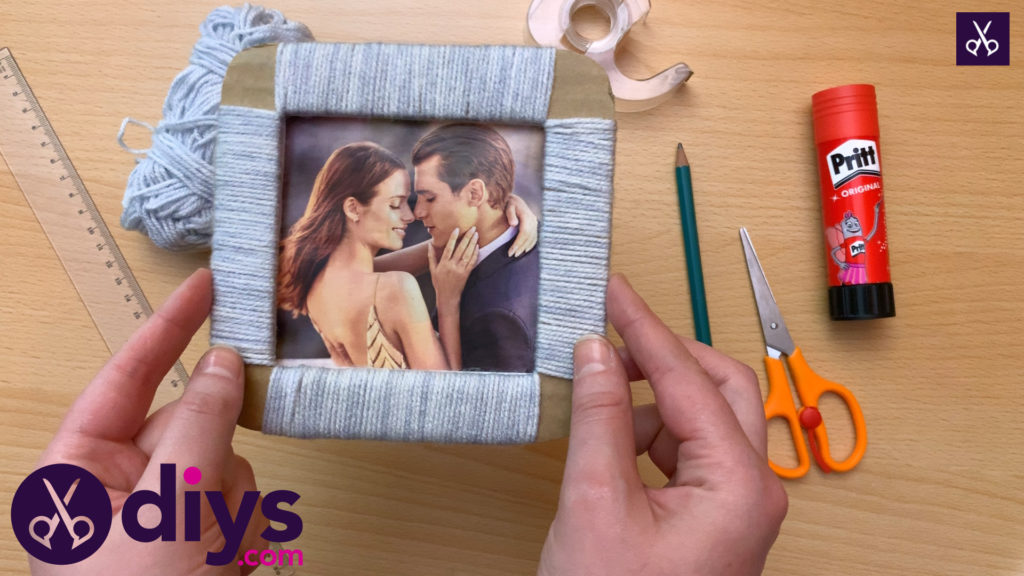
Step 8:
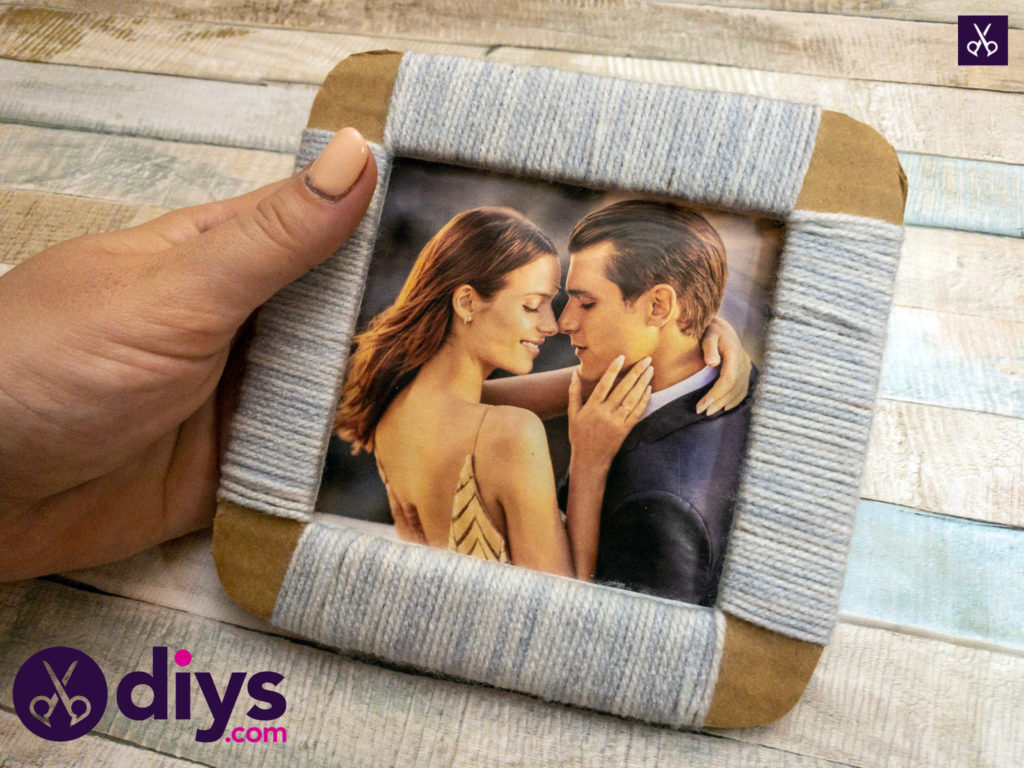
Glue your photo into the frame! Put some glue in each of the four corners in the blank paper space around the image. Line these up with the 4 cardboard corners that you did not yarn wrap and printing down and then the photo sticks and the image is lined upwardly with the infinite. Voila!
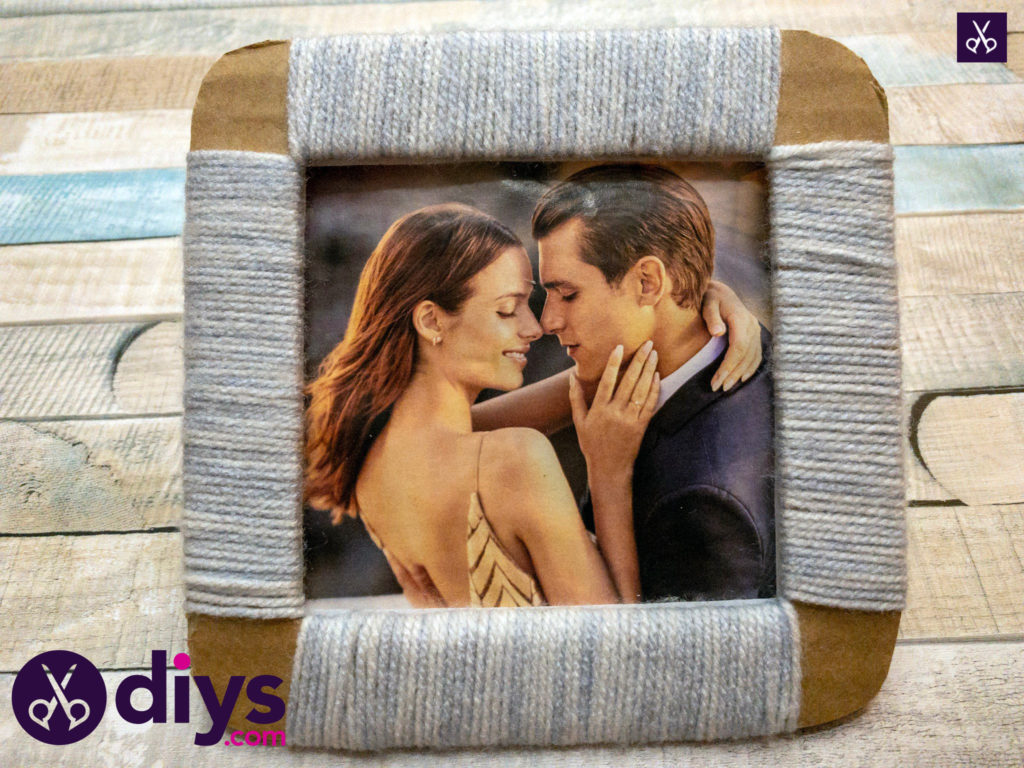
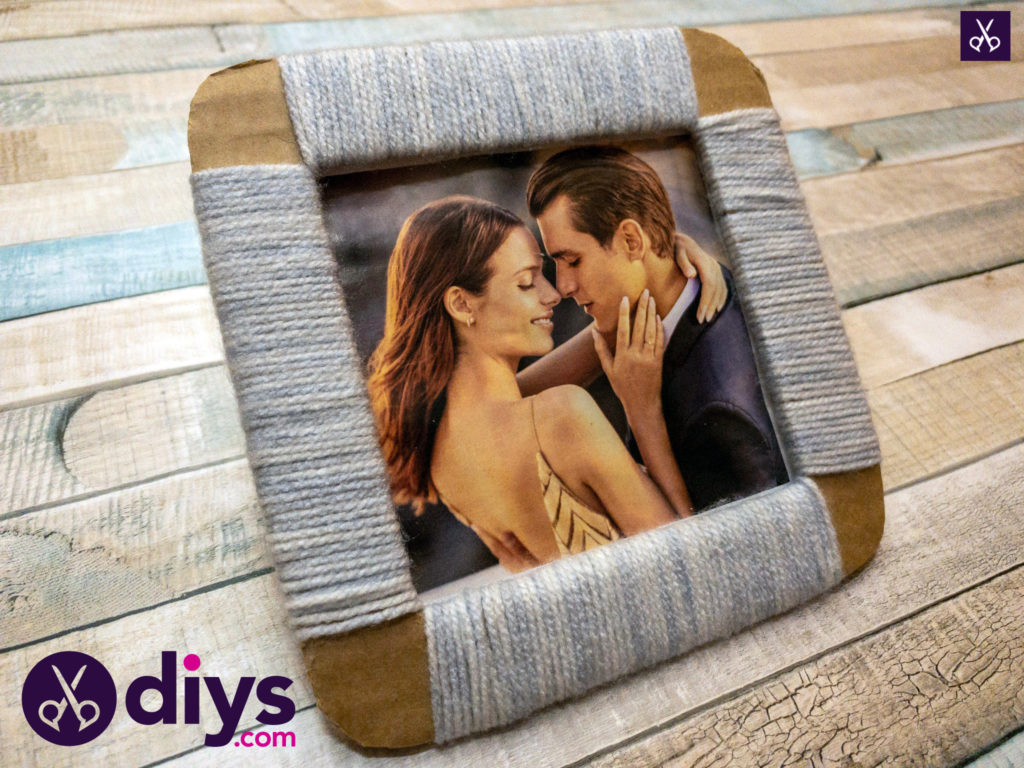
Nosotros love the thought of creating this wrapping effect using yarn in a color that complements some chemical element of your photo, making the whole projection wait custom and complete!
Find a full video tutorial for this awesome project here!
Source: https://www.diys.com/cardboard-photo-frame/
0 Response to "How to Make A Cardboard Photo Frame"
إرسال تعليق